Here’s a quick and fun summer projects you – and even the kids – can get a handle on:
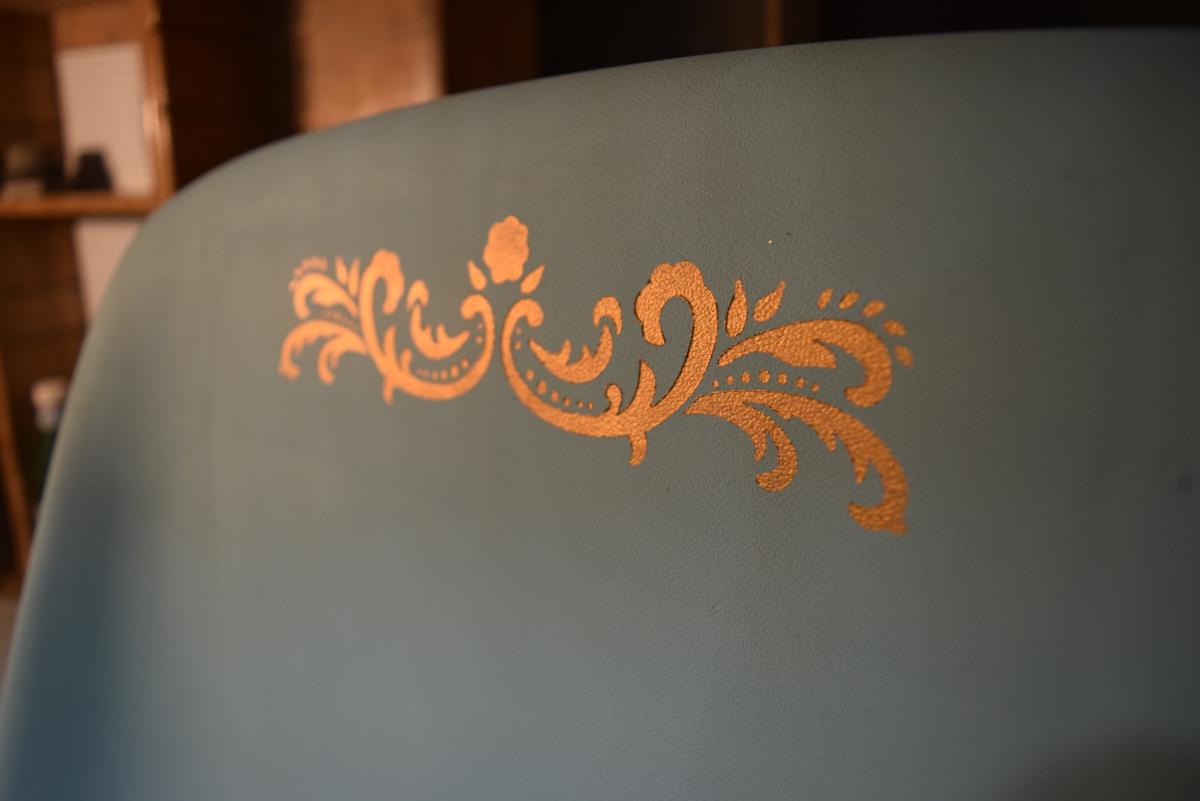
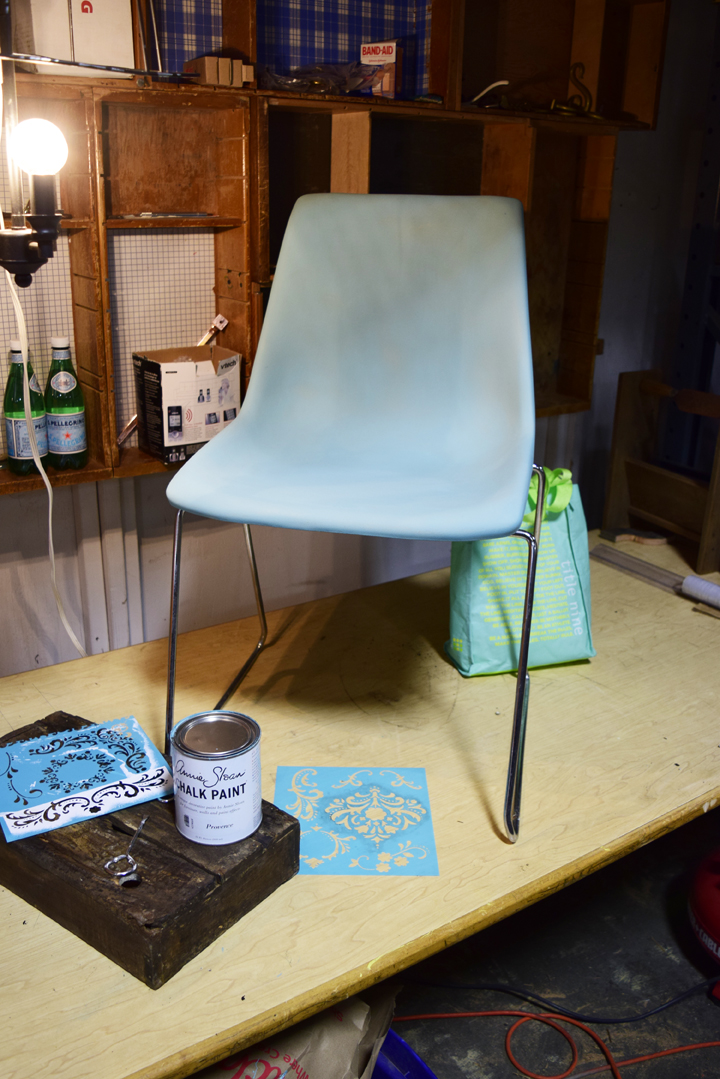
1) PAINTED STACKING CHAIR – Make a personal style statement when you paint a plastic chair – ONLY $5 at Habitat ReStore! We used Annie Sloan chalk paint in aqua Florence to paint the front, and the underside was painted using red Emperor’s Silk.We use chalk paint (not chalkboard paint) because it doesn’t require priming and it sticks to just about any clean surface. Plus, it’s soap and water clean up, non toxic, no fumes. After letting the paint dry (1-2 coats) we added some extra bling by applying a stencil design to the back…and also to the back side of the chair. The stencils were painted using a rich gold gilding wax, then we lightly rubbed in a coat of finishing wax over the whole piece once everything was securely dry. To make the job easier, we merely removed the four screws on the underside and took off the legs. On some of the chairs, we spray painted the legs with a brushed gold paint, giving it a great new lustre.
Materials
Chair (Find one for $5 at Habitat ReStores while supplies last.)
Chalk paint
Chalk paint paintbrush (this is preferred because it loads on paint so well – but you can use any paint brush.)
Stencil
Contrasting paint for stencil, or gold stencil wax
OPTIONAL:
Spray paint for chair legs (Look for a product that adheres to metal.)
TIP: We tried using a stencil glue to hold down the stencil for painting, but the adhesive really messed it up. Next we tried just holding the stencil in place while lightly stenciling, and this worked perfectly.
______________
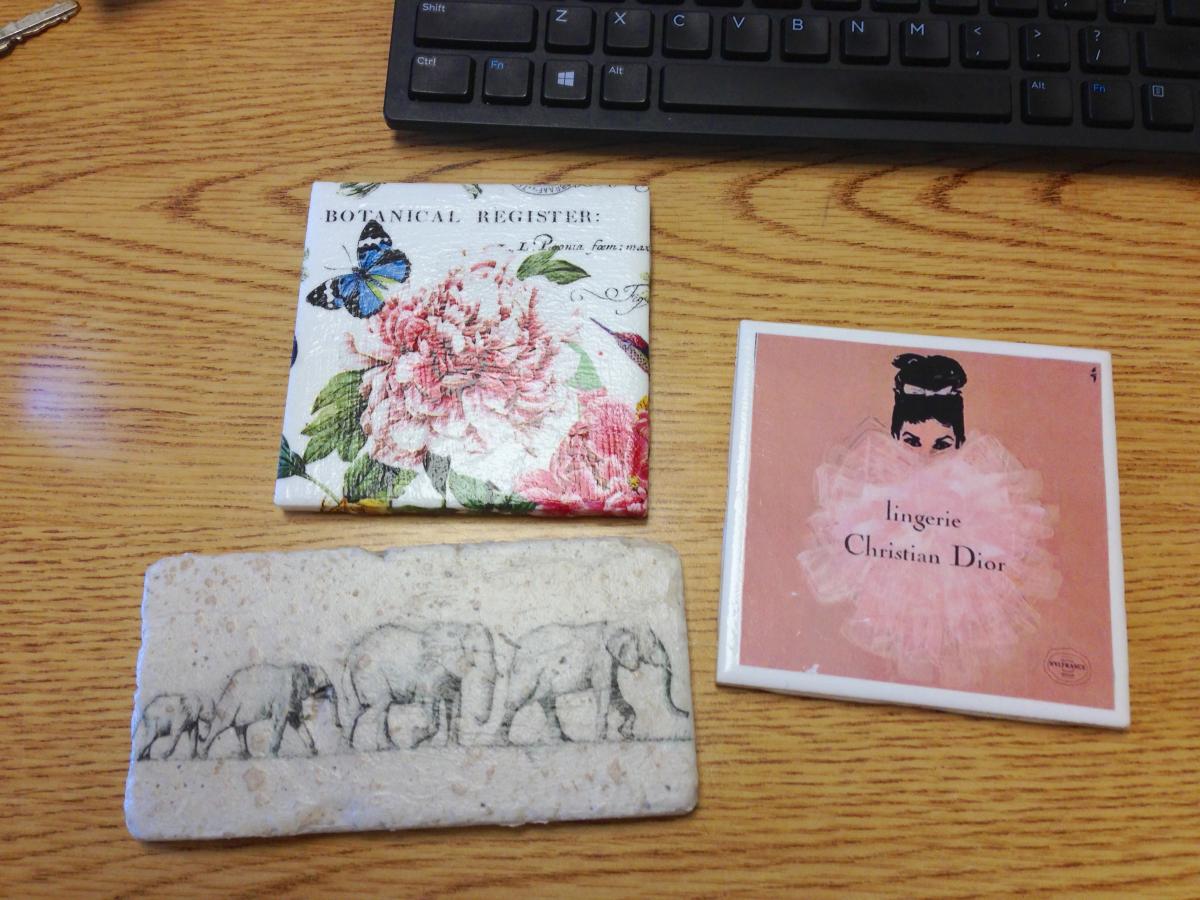
2) Upcycle Tile –
– Tile (We’ve got a great assortment at Habitat ReStore.)
– Image
– Modge Podge or some other decoupage product
– smallish-sized paint brush
– self-adhesive rubber, felt or cork dots, pads, or similar
Instructions:
- Select a tile – White is the easiest to work with, but depending on the paper you end up using, other light shades could work well, too.
- Select an image – it could be your own drawing, or your child’s sketch, or a photo of your child. If you use a photo, consider printing a copy on regular printer paper – the thinner the image the better. We used one layer of a floral napkin and it worked great.
- Apply Modge Podge to coat the top surface of the tile. We also coated the back side of the image.
- Gently place the image on the tile, smoothing out any bubbles along the way, starting from the center. We used a paper towel to smooth it out so that we were less likely to smudge the image. You may find bubbles form as the piece dries, so it’s important to watch for this for a few minutes, rubbing out any bubbles using a cloth or paper towel to avoid smugging.
- Let dry.
- Seal the image with a top coat or two of Modge Podge.
- Once dry, turrn the tile over and apply self-adhesive rubber or felt pads at the four corners, or you can completely cover the underside with a self-adhesive magnet for mounting on the fridge.
TIPS – Watch out for copyright infringement laws- so in other words, you can give a finished tile away, but perhaps you shouldn’t resell the images taken off the internet. We’re not specialists in this area, but it’s good to be safe.
We used Modge Podge for decoupaging, but you can use another product. Plus some people use a poly product to topcoat so that it is more water resistant.
TISSUE PAPER DECOUPAGE – This is really fun! We used this process for creating the elephant tile below.
- Select an image
- Separate one facial tissue into two pieces.
- Tape four sides of one piece of tissue onto standard printer paper.
- Print your image onto the paper with the tissue.
- Carefully cut the tissue print image off the copier paper
- Coat one side of a tile with Modge Podge
- CAREFULLY place the printed tissue onto the prepared tile, starting from the center. You’ll be able to shift this just a bit, so take your time with this step since the tissue is very fragile.
- Once dry, add 1-2 coats of Modge Podge to seal the image.
- Add pads to the back side.
This technique is so amazingly fun. I once decoupaged an old Easter picture onto an egg shell before filling it with confetti. It was a great cascarone!
.